However, if you haven’t got an idea of what a case study really entails, you won’t get the best out of the editable template to produce a captivating case study that lands you that dream gig you’ve always wanted no matter how hard you try.
Let’s run through what a case study is and what is required
What exactly is a case study?
A case study is a comprehensive review of a project or product that helps people to comprehend the ideas, concepts, and efforts that went into making the product by thoroughly outlining the design journey. It displays not just the outcome but also the reasoning behind each design choice, the difficulties encountered, and the solutions found to resolve them. Think of it as the producer, crew and cast doing a recount of the making of a great and interesting movie, the audience only sees the end product but never the efforts put into making it so taking then through the journey of the movie helps them better understand the idea and efforts put into making such exquisite work.
Tips to writing a compelling Case Study
The main parts of a well-structured case study include:
- Title of the Case Study
- Introduction/Overview
- UX Design Process
- User Research
- Define the Problem
- Ideation Steps to come up with a solution
- Test Solution and Iteration
- Next Steps and Learning
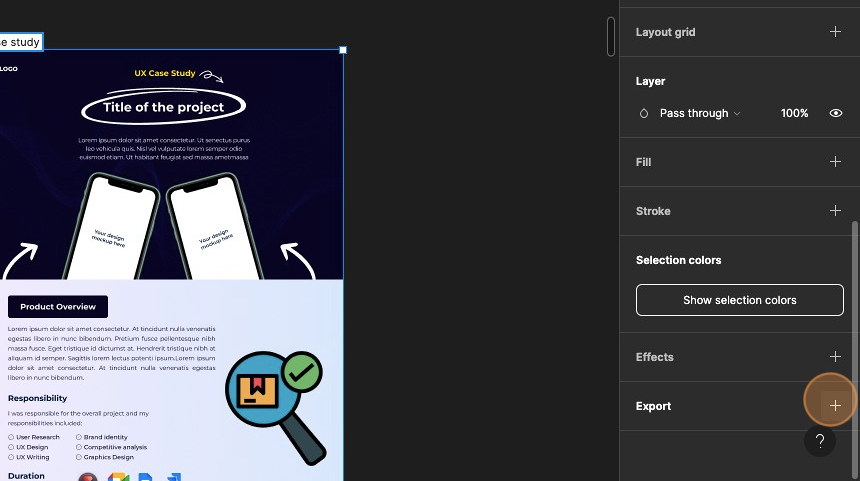
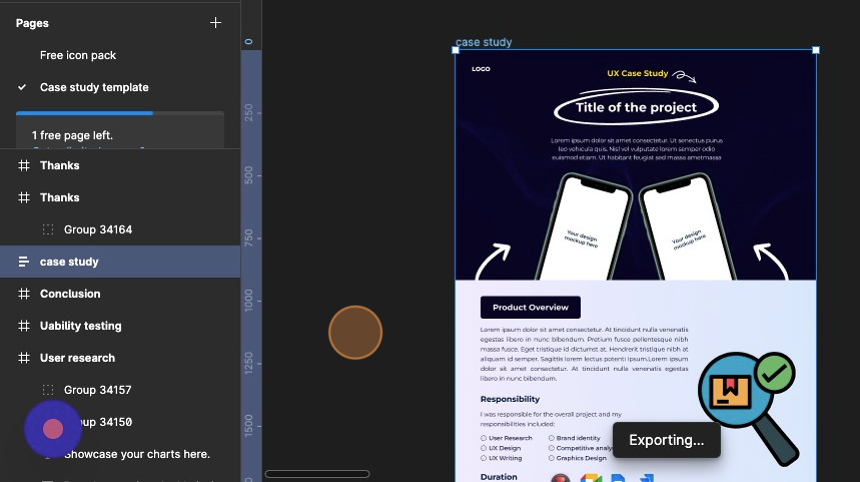
Give your project a title
Upon opening any case study, the title, serves as a moment of decision on whether to proceed with reading the UX case study or not. A good title for a UX case study should be clear, concise, and descriptive, giving the reader a glimpse of what to expect from the case study content. It should be attractive, engaging and encourage the reader to delve deeper into the study to learn more about the UX challenges and solutions presented.
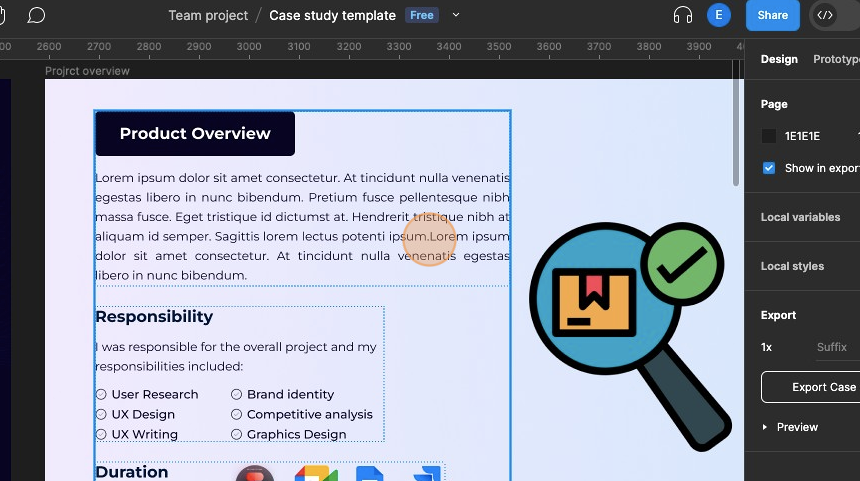
Introduction/Overview
The overview section of a UI/UX case study provides a concise yet informative summary of the entire project. It gives readers a quick understanding of what the case study is about and what they can expect to find in the following sections. Keep the overview section concise, ideally fitting within one to two paragraphs.
Here’s what the overview should entail:
- Project Description: Begin by introducing the project or product that you worked on. Mention the name of the client or company, the type of product or service involved, and the context of the UI/UX redesign or creation.
- Objectives and Goals: Clearly state the primary objectives and goals of the UI/UX design project. What were the specific problems or challenges you aimed to address? What did you hope to achieve through the redesign or creation of the user interface and user experience?
- Key Deliverables: Mention the key outcomes or deliverables of the project. For example, was it a redesign of an existing app, the creation of a new website, or an improvement of certain features?
- Target Audience: Briefly describe the target audience or user base for the project. This may include demographics, user behaviors, or specific user needs that were considered during the design process.
- Duration: Mention the overall timeline or duration of the project, including any major milestones or phases.
- Role and Team: If you are part of a design team, mention your role or the roles of other team members involved in the project. This could include UI/UX designers, researchers, developers, project managers, etc.
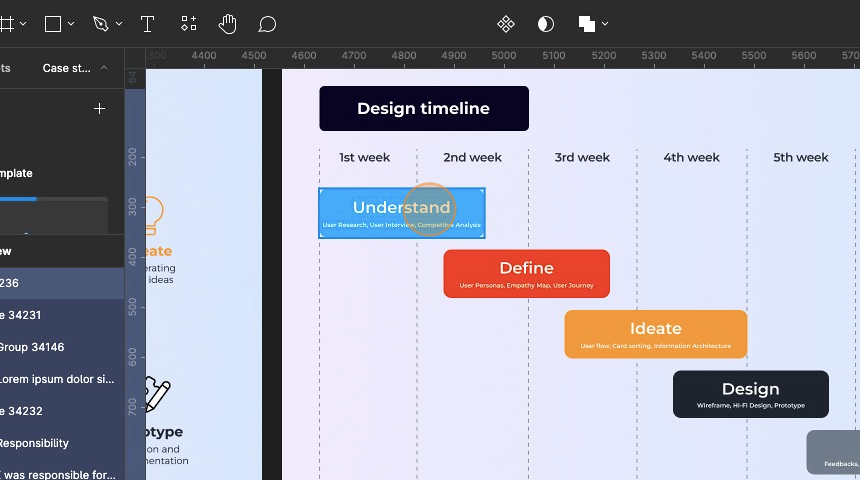
Explain your Design Process
Here is where you can really put your UX skills to the test. Describe the UX Design Process you used for the readers. In other words, describe the various project actions you took and explain why you chose to take them. You can also include a timeline for the project.
User Research
Good user research leads to a good user experience as it aids in identifying user behaviors, wants, and motivations. Successful UX research actually eliminates assumptions and guesswork. Simply put, effective user experience research is profitable.
The major objective of this section is to define
- Who your users are?
- What do they really need?
- What is their real problem?
- What is your observation?
This is where you include your research questions, insights from the research, and your competitive analysis.
Define the exact problem
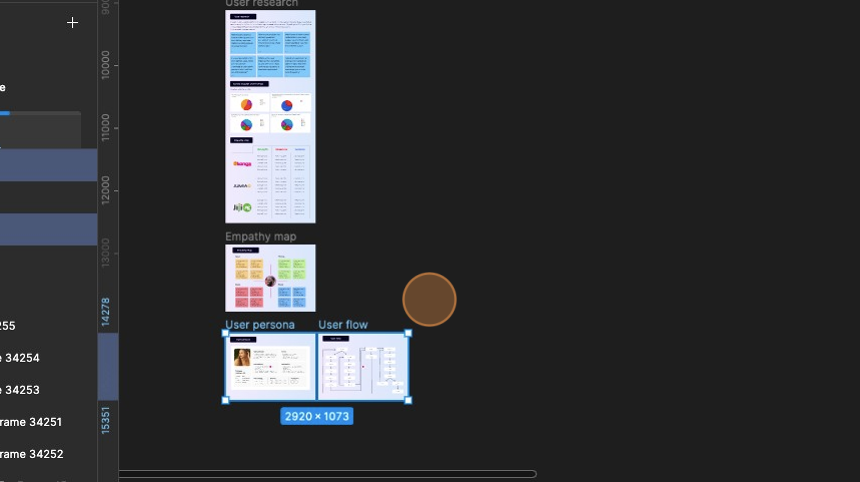
When your research is over, you will have a wealth of insights, both quantitative and qualitative. The information acquired must be analyzed and connections made around it in the following stage in order to yield some findings. The only way to come up with the ideal solution is to frame the problem correctly. You can only combine the facts into an actionable problem statement once you have comprehensive knowledge of the wants, needs, and pain areas of the potential users of the product. This is the part where you include your empathy map, user persona and others.
Ideating a Solution
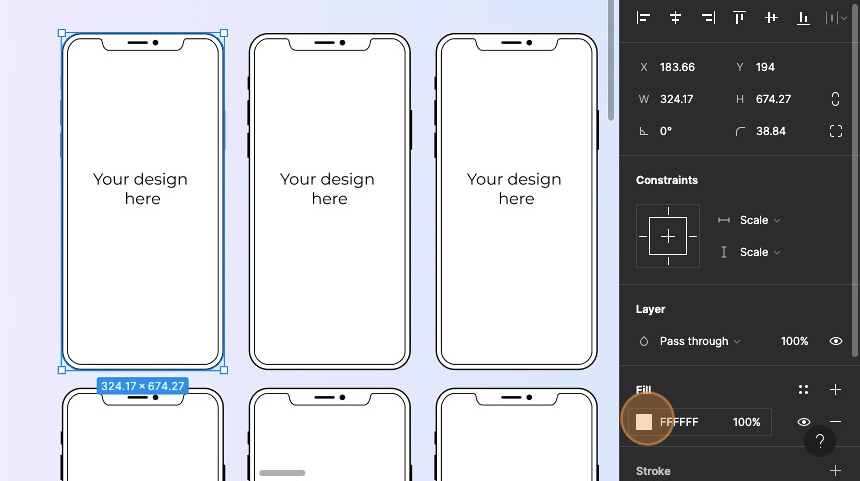
Knowing a problem is one thing. Coming up with a solution that eliminates the problem is a different ball game. The “Ideating a Solution” phase, is where you include your key deliverables such as wireframes, prototypes etc.
Solution Testing and Iteration
This is where the prototype is put to test with real users. This phase involves gathering feedback, analyzing user interactions, and making iterative improvements to refine the solution.
Congratulations! You’ve reached the end of this article! 🎉 Now, get ready to rock your own design projects with inspiration from our journey. Keep being a creative UI/UX guru!


A beautiful work indeed. It is easy to understand and to use, it came at the right time for me Thank you for sharing.
Congratulations once again.
Thanks for sharing this.